
How to set up Microsoft Entra Applications (Oauth) for Abakion Intercompany
Updated 26-06-2023. From Business Central v. 23, Azure Active Directive is replaced by Microsoft Entra Applications.
The setup is consisting of three parts :
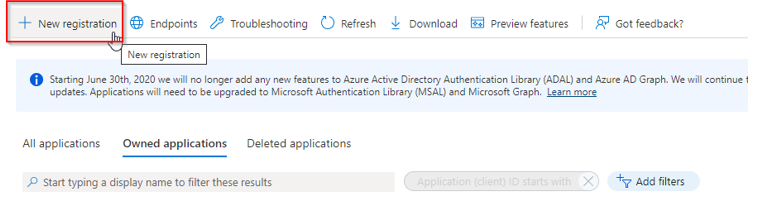
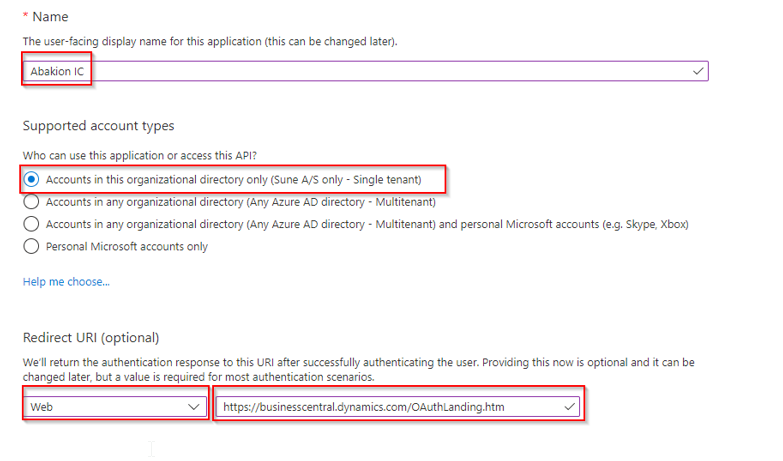
Create an App Registration in Microsoft Entra Applications (Azure Active Directory)
Insert the APP registration information on the Intercompany Partner card
Create a Microsoft Entra Application User (Azure Active Direct Application user) in Business Central.
Same tenant >< different tenants:
If you are running both companies on the same tenant. The setup below can be used for both companies.
If you want to setup Intercompany between two tenants, the APP registration needs to be made in their respective Microsoft Entra Applications.
And the user and partner card, should be setup using the information from the OTHER tenants Microsoft Entra Applications. As these setups are users which defines how they will be connecting into the companies in that tenant.
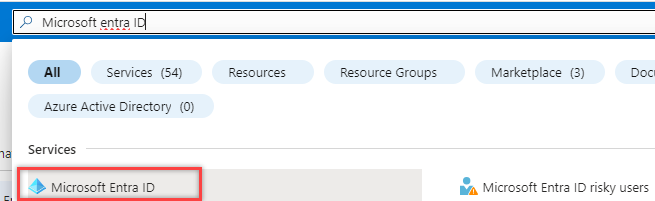
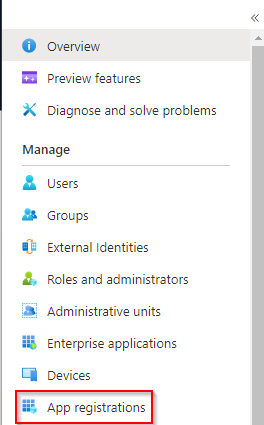
App Registration in Microsoft Entra ID (Azure Active Directory Authentication)
|
|
|
|
|
|
|
|
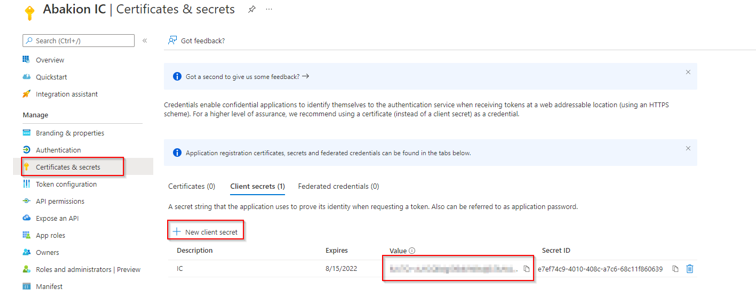
Next step is to create a Certification
(Note this will be masked once you browse away from the certification and secrets!) |
|
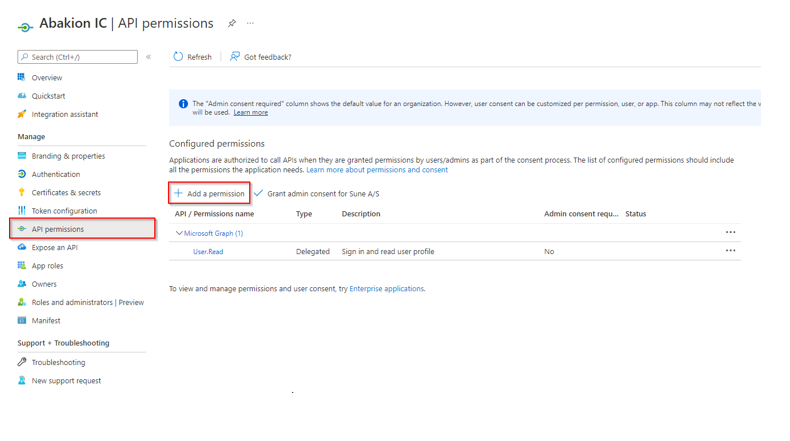
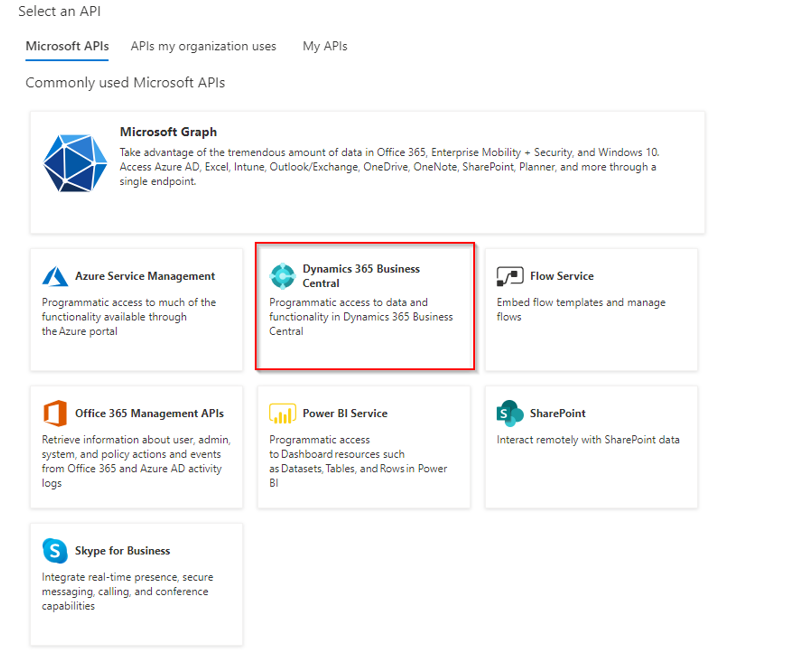
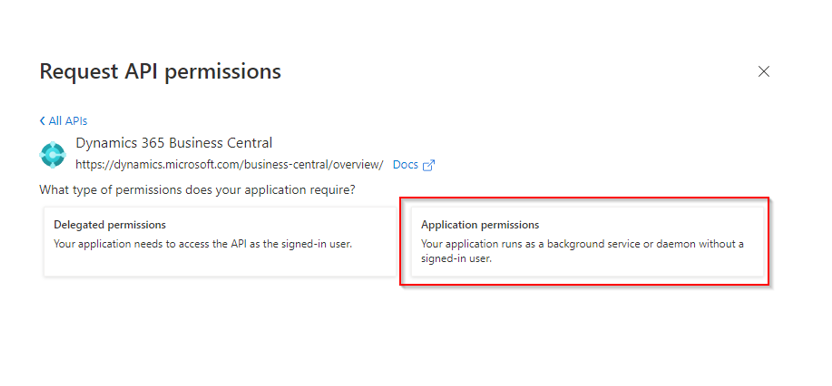
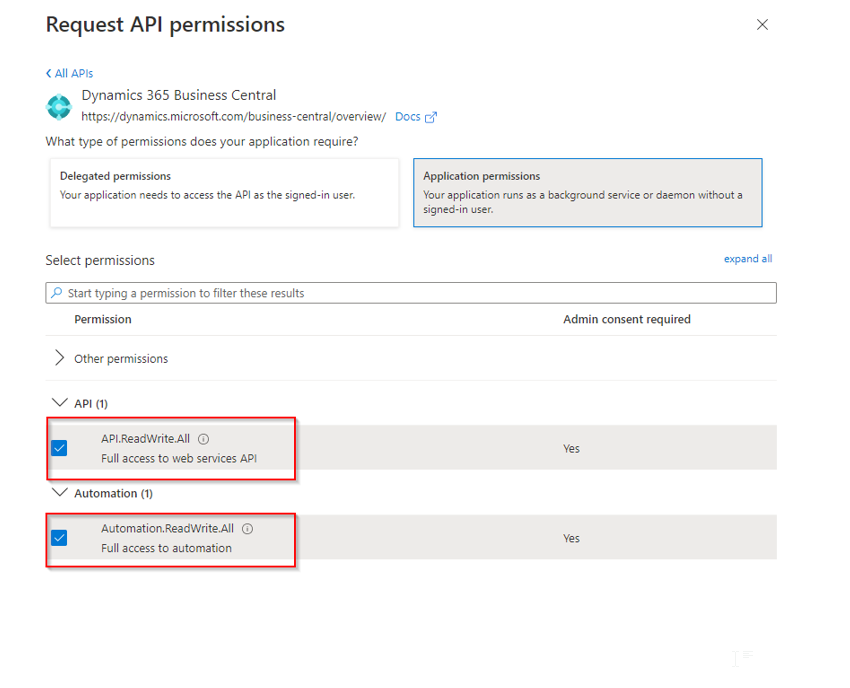
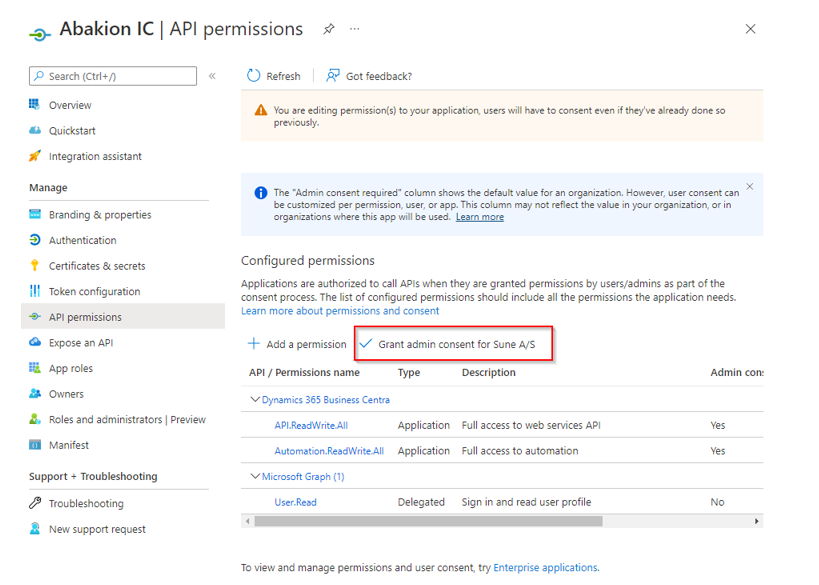
Next step is to add Permissions
|
|
|
|
|
|
|
|
|
|
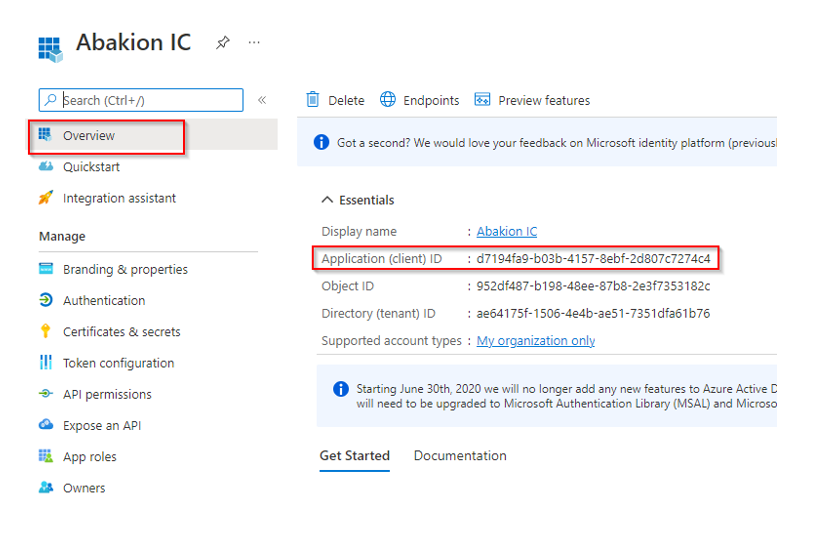
Next step is to find the Application (Client) ID
|
|
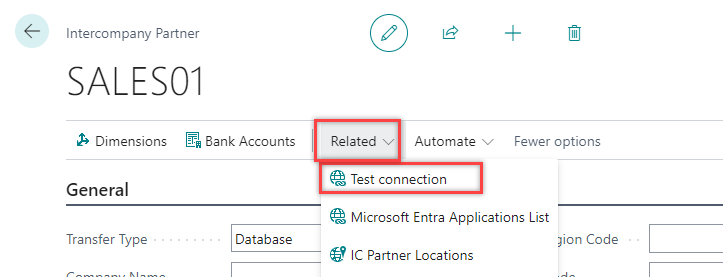
Business Central Intercompany Partner Setup
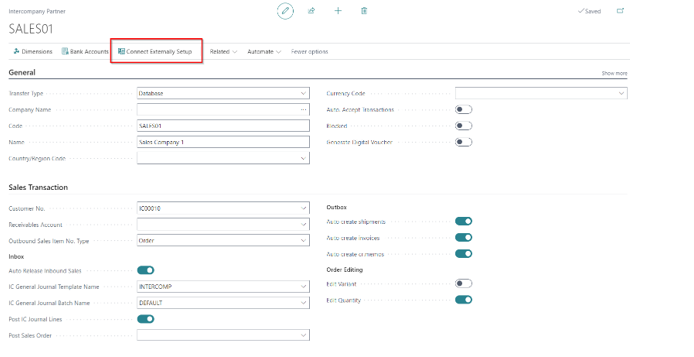
Now it is time to switch to Business Central, and update the Intercompany Partner with connection information.
Connect Externally Setup
Open the Intercompany Partner Card.
To finish the setup of the connection between your Intercompany Partners, follow the instructions in the guide (How to Setup Intercompany Partners with Connect Externally Setup)).
Setup the Intercompany Partner Card
When the connection has tested successfully, and you finished the connection setup, you can setup the partner card with the intercompany vendor / customer etc.
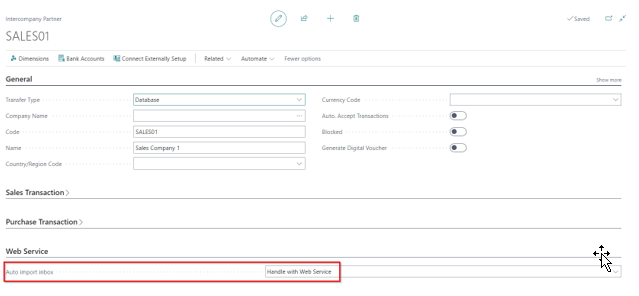
Make sure that auto import inbox is set to handle with web service
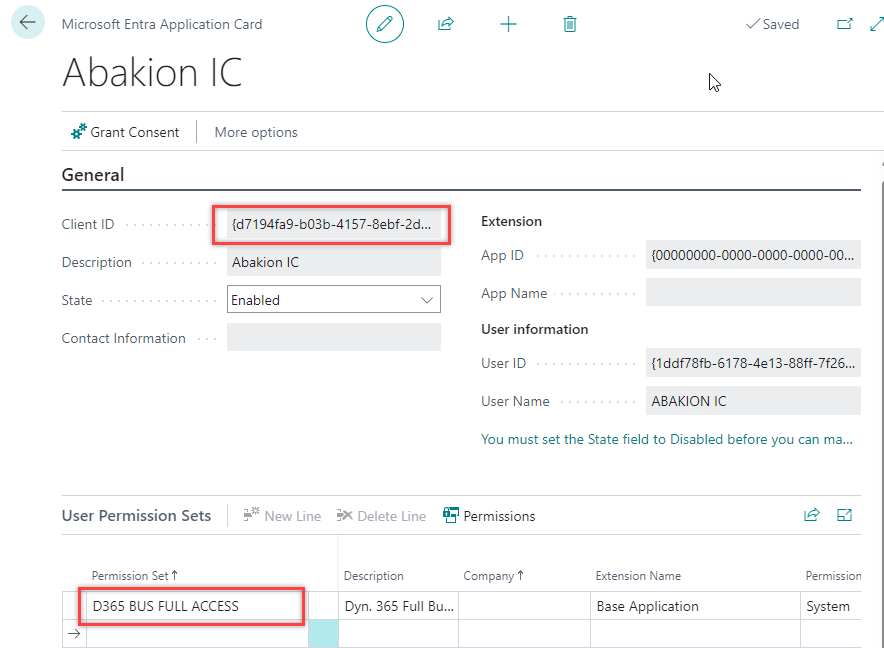
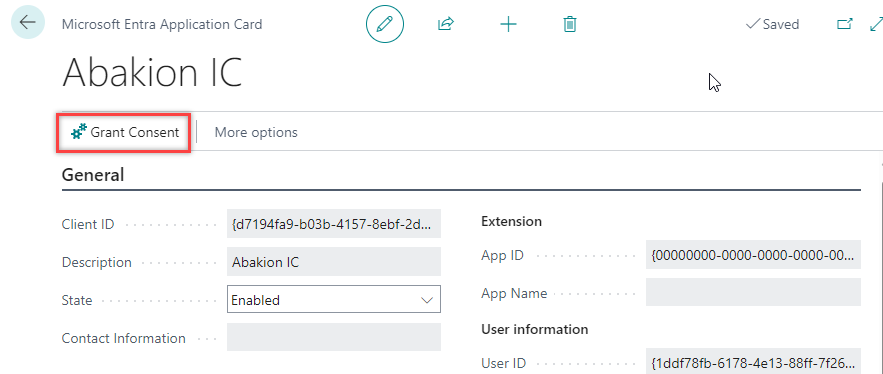
Microsoft Entra Application Card
Last step is to set up Microsoft Entra Application Card. It's used to define what permission should be granted to the Registration App and to the Abakion Intercompany app.
|
|
|
|
|
|
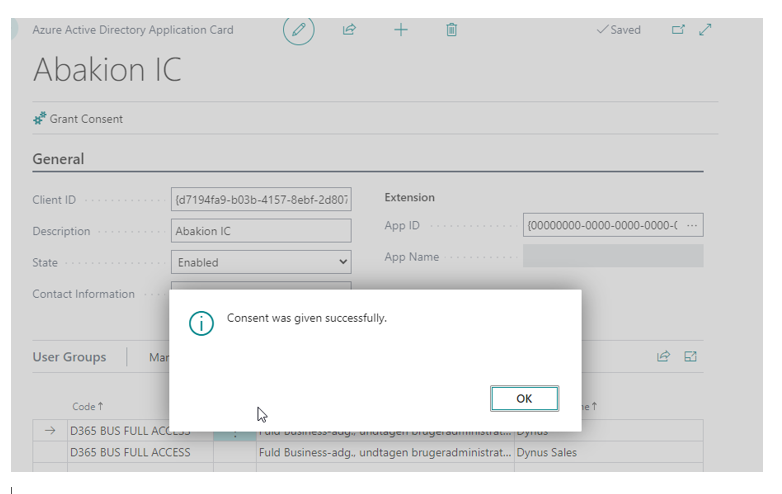
As the result following message should appear. |
|
|
|
.png)
For more details refer to Microsoft Documentation:
Register Azure application
S2S Authentication