Setting Up Information Codes
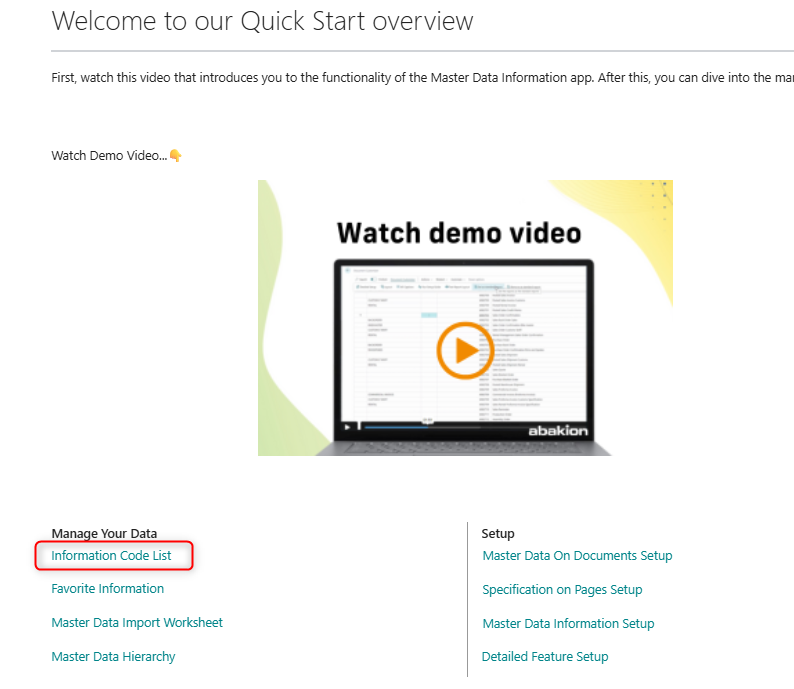
After activating Master Data Information, the first step is to set up Information Codes. These are the foundation of the app and are used across all features — from master data records to open documents and printed output.
Create Information Codes
Navigate to the Information Code List and create the codes that represent the data you want to capture on your master data records. These codes can also flow to open documents and, if you are using the Document Customizer app from Abakion, be included in your printouts.
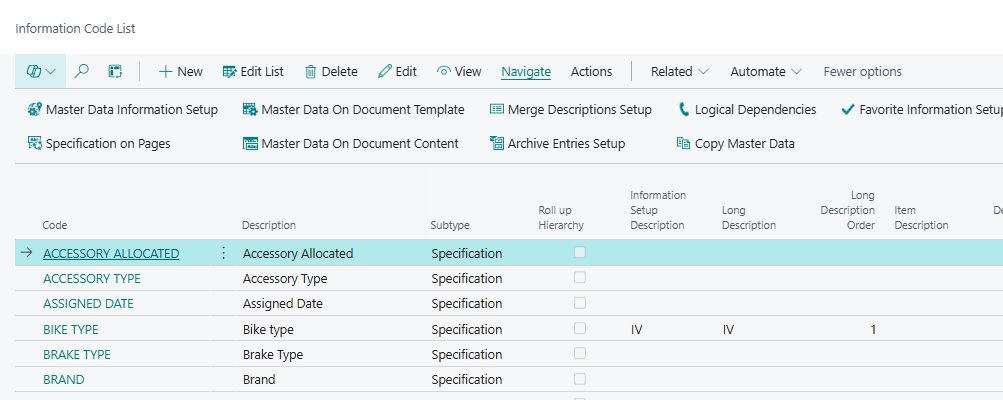
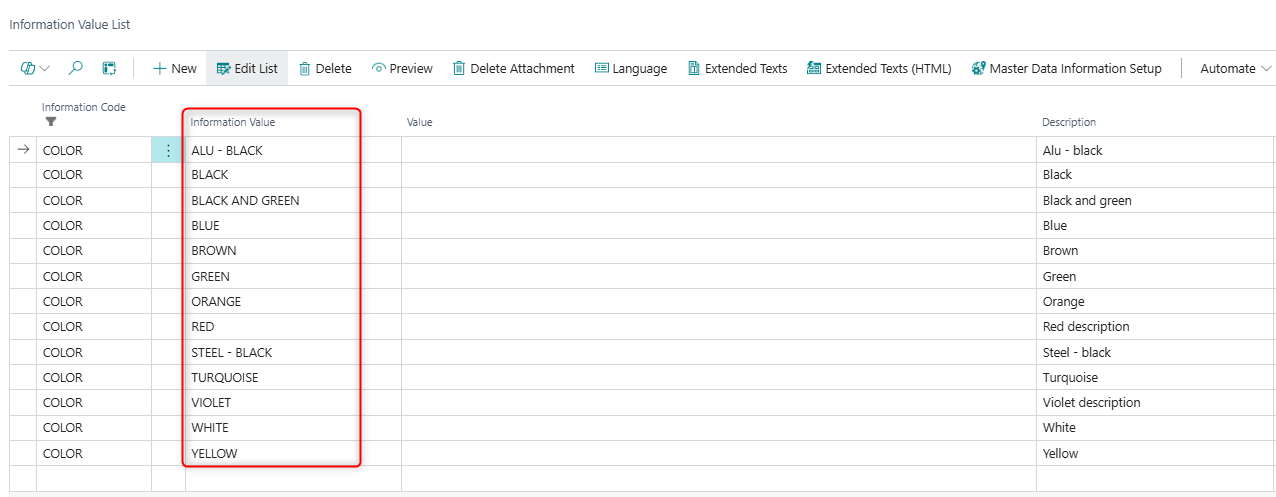
Add Values to an Information Code
If you want to restrict users to a predefined set of options, add those options as Information Values on the Information Code. When users assign an Information Code to a record — for example, an item — they can only select from the values you have defined. This helps ensure consistent and accurate data across your records.

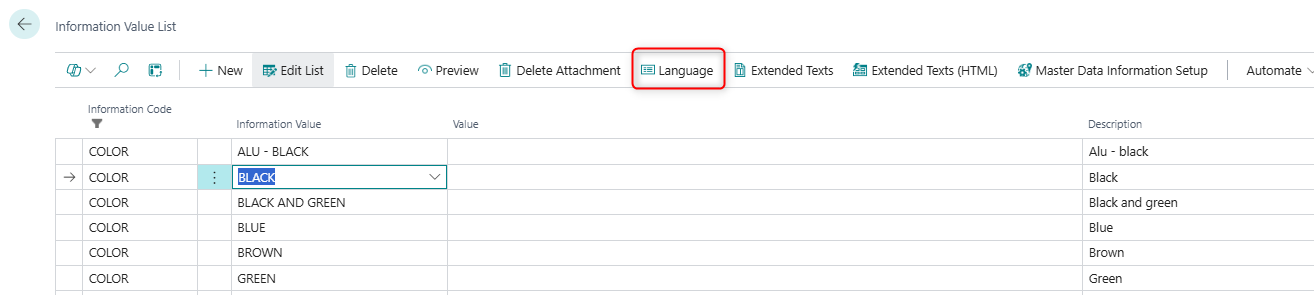
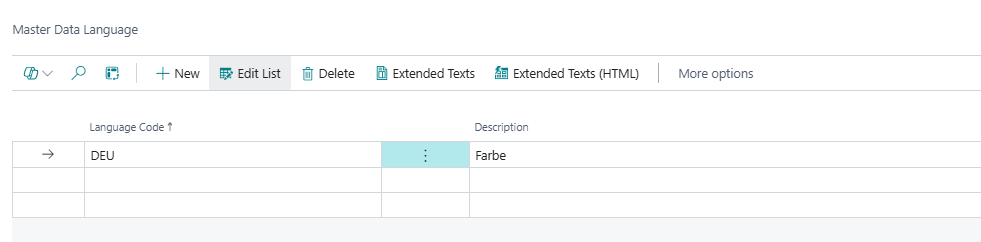
Add Translations to Information Codes and Values
If you work with customers or vendors in languages other than your default system language, you can translate both your Information Codes and their Information Values. When specifications are transferred to documents, the description will automatically reflect the language code set on that document — which is especially useful when the data appears on printouts sent to foreign-language contacts.

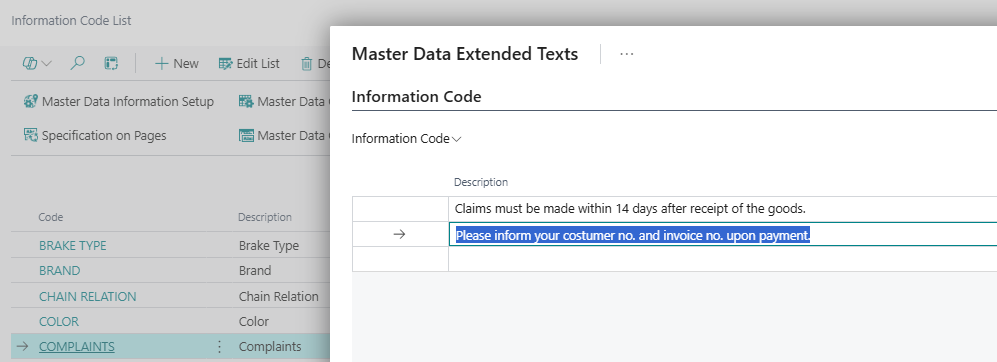
Add Extended Text to Information Values
When the standard description field does not provide enough space, you can add an Extended Text to an Information Value. Extended Text also supports multiple languages. When master data is transferred to a document, you can specify whether it is the short description or the extended description that should flow through — giving you flexibility in how the information is presented on different document types.

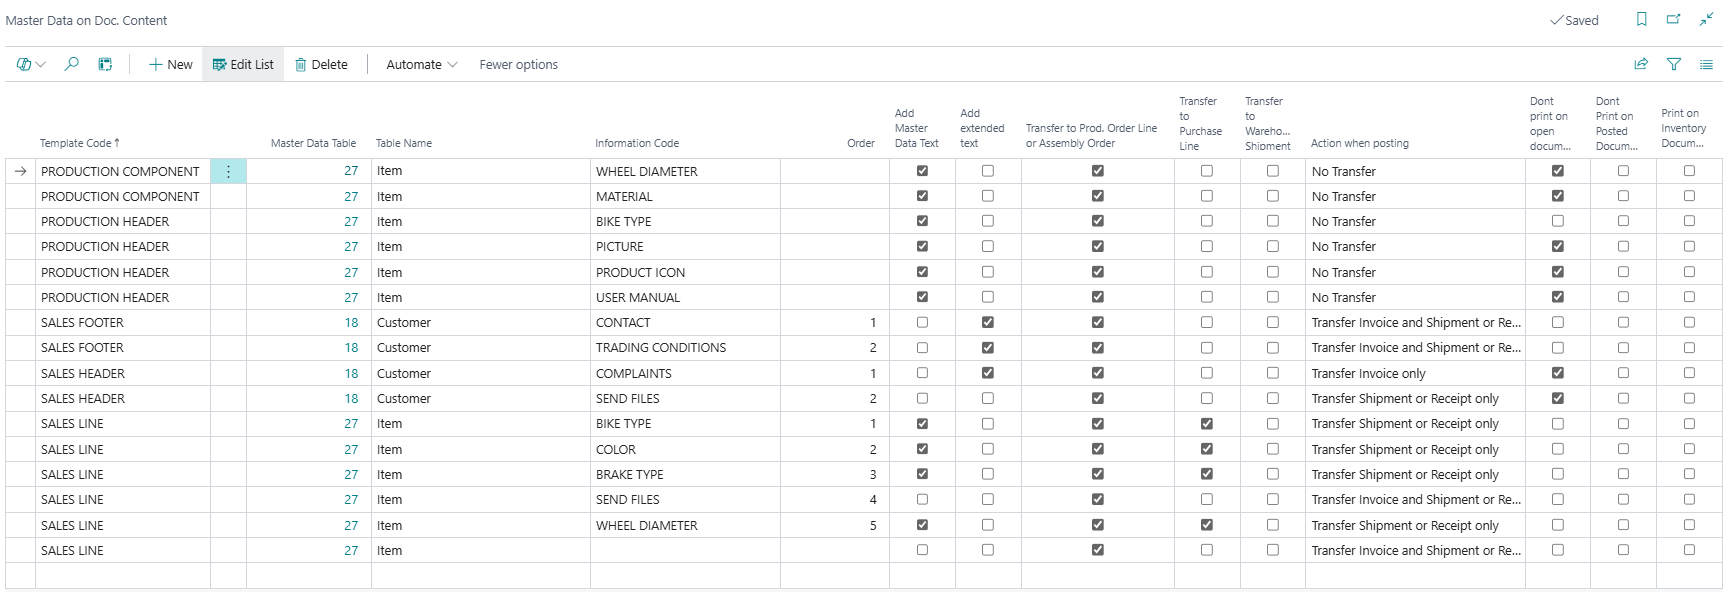
Set Up Master Data to Flow to Documents
To have the information you add to master data automatically transferred to your sales and purchase documents, configure this in Master Data on Documents. Here you define which Information Codes to include, and how each should be transferred — for example, whether to copy the value once or keep it synchronized.

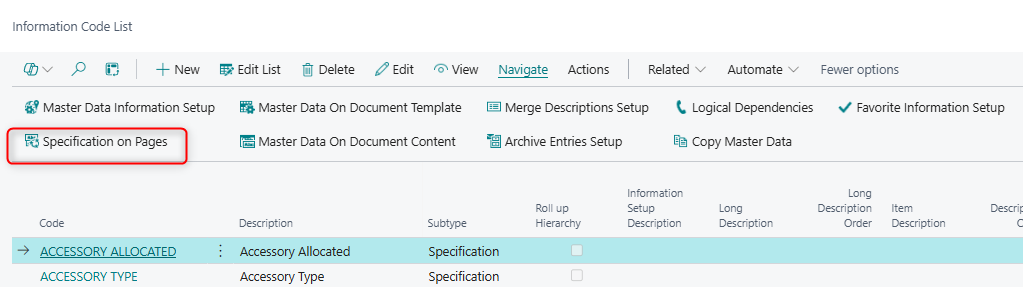
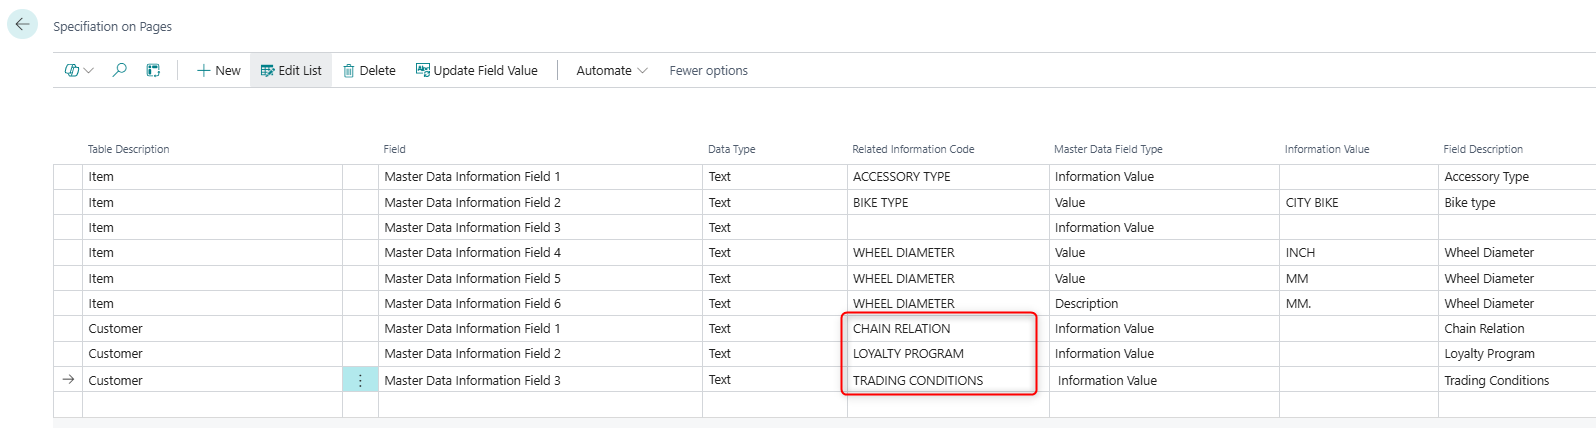
Display Specifications Directly on Pages
If you want users to see — or enter — specifications directly on standard Business Central pages such as the Item Card, Customer Card, or Sales Order, you can enable this through the Specification on Pages feature. This allows you to add up to 24 new fields to a wide range of tables and pages, so users can view or update information without navigating away from their usual workspace.